Bootstrap Mediawiki
This is a MediaWiki skin that uses Bootstrap 3 from Twitter! The framework gives a boatload of features that play really nicely with a MediaWiki installation. To get up and rolling, there's a few things that should be done.
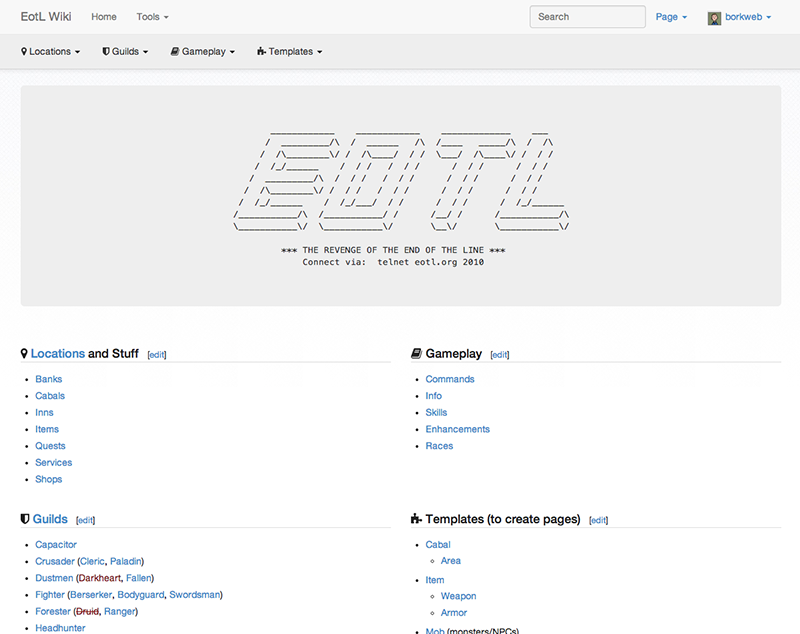
If you'd like to see one of these in the wild, check out the EotL Wiki.
Installation
First, clone the repository into your skins/ directory.
git clone https://github.com/borkweb/bootstrap-mediawiki.git
Next, in LocalSettings.php set:
$wgDefaultSkin = 'bootstrapmediawiki';
Then add at the bottom:
require_once( "$IP/skins/bootstrap-mediawiki/bootstrap-mediawiki.php" );
Setup
Once you've enabled the skin, you'll want to create a few pages.
Customization Vars
There are some customizations you can do to the theme by placing some variables in your LocalSettings.php file
| Variable | Description |
|---|---|
$wgNavBarClasses |
Add additional classes to the navbar (example: navbar-inverse to get the black navbar). Example: $wgNavBarClasses = 'navbar-inverse'; |
$wgSitenameShort |
Use this if you wish for your nav title to use a shorter name than your wiki's name. Example: $wgSitenameShort = 'Short name'; |
$wgTOCLocation |
Moves the Table of Contents (when one exists) into a sidebar. Usage: $wgTOCLocation = 'sidebar'; |
$wgSiteCSS |
Adds a custom CSS file so you can run your own CSS without customizing the base theme styles. Example: $wgSiteCSS = 'custom.css'; |
$wgSiteJS |
Adds a custom JS file so you can run your own JS. Example: $wgSiteJS = 'custom.js'; |
Useful templates for your wiki
Create: Bootstrap:Footer
This MediaWiki page will contain what appears in your footer. I've set mine to the following:
<div class="row">
	<div class="col-md-6">
		=== Stuff ===
		* [[Link to some place]]
		* [[Another link]]
	</div>
	<div class="col-md-6">
		=== More Stuff ===
		* [http://external.resource.org Go here]
	</div>
</div>
Create: Bootstrap:TitleBar / Bootstrap:Subnav
This MediaWiki page will control the links that appear in the Bootstrap navbar after the logo/site title. The format that this page is expecting is as follows:
* Menu Item Title
** [[Page 1]]
** [[Page 2]]
** [[Page 3]]
* Another Menu
** [[Whee]]
** [[OMG hai]]
* [[A Link Menu]]
You can use this page to create dynamic menus, too! If you have an extension providing a parser function, this will get evaluated before the menu is displayed. An interesting example is the usage of the DynamicPageList third-party Extension (BEWARE: not the MediaWiki one; maybe this works when you wrap this inside a {{#tag:}} to create a parser function on demand):
* Menu Item Title
{{#dpl:category=Dynamic Menu Pages|format=,** [[%PAGE%|%TITLE%]],\n,}}
You can name the category whatever you want, of course. Do not change the format string, as it will be needed as is by the template functions! But of course every other params for this function are possible...
The Bootstrap:Subnav page follow the same syntax as does the Bootstrap:TitleBar page. As the name already suggests, it will create a sub-navigation bar under the title bar.
Create: Template:Alert
This template is used to leverage Bootstrap's alert box:
<div class="alert {{{2}}}"><strong>Heads Up!</strong> {{{1}}}</div>
Usage:
{{alert|Message you want to say|alert-danger}}
Create: Template:Tip
This template is used to do Bootstrap tooltips!
<span title="{{{2}}}" class="tip" rel="tooltip">{{{1}}}</span>
Usage:
{{tip|Something|This is the tooltip!}}
or
{{tip|[[Bacon]]|Delicious snack}}
Create: Template:Pop
This template is used to do Bootstrap popovers!
<span title="{{{2}}}" data-content="{{{3}}}" data-toggle="popover">{{{1}}}</span>
Usage:
{{pop|Whatever triggers the popover|Popover Title|Popover Content}}