|
|
||
|---|---|---|
| css | ||
| default | ||
| js | ||
| lib | ||
| screenshots | ||
| textures | ||
| .gitattributes | ||
| LICENSE | ||
| README.md | ||
| converter.html | ||
| depends.txt | ||
| init.lua | ||
| mod.conf | ||
| notify.lua | ||
README.md
imaging
An image / bumpmap importer mod for Minetest
Developed and tested on Minetest 0.4.16 - try in other versions at your own risk :)
WIP mod forum discussion: https://forum.minetest.net/viewtopic.php?f=9&t=20411
Table of Contents
Dependencies and Licensing
This mod depends on the [matrix] mod.
The code is licensed under the MIT license.
Except otherwise specified, all media is licensed as CC BY SA 3.0
The Minetest Logo screenshot is CC BY SA 3.0 Minetest team
The sardinian girl screenshot is CC BY 2.0 Cristiano Cani
Features
This mod allows to convert arbitrary images and build them in a Minetest world using up to 256 different colors, with some additional options such as bumpmapping.
This mod is composed by two parts:
the converteris an HTML page to be run in a browser to convert images intoimagingcodes according to a given palettethe importeris a block calledimaging:canvasplaced in the world to define the bottom-center of the imported image and its orientation
Recipe
The recipe can be customized altering the file custom.recipes.lua, created in the mod's folder on first run and never overwritten.
W = any wood planks
B = mese block

WWW
W W
WBW
Converter
To launch the converter open the /converter.html file contained in the mod folder with your browser, you should see something like this:
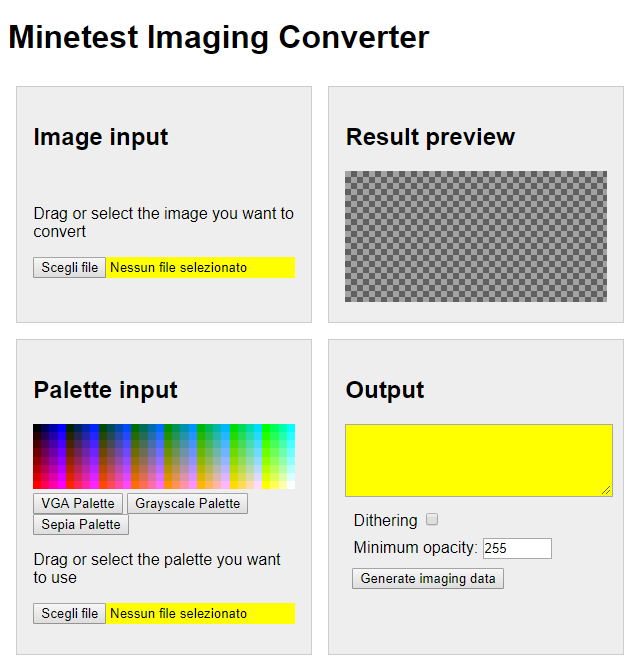
There you can load an image by clicking on the file selector marked in yellow in the Image Input box (you can also drag files on that file selector), then alter the conversion params and hit the Generate imaging data button, obtaining something like this:
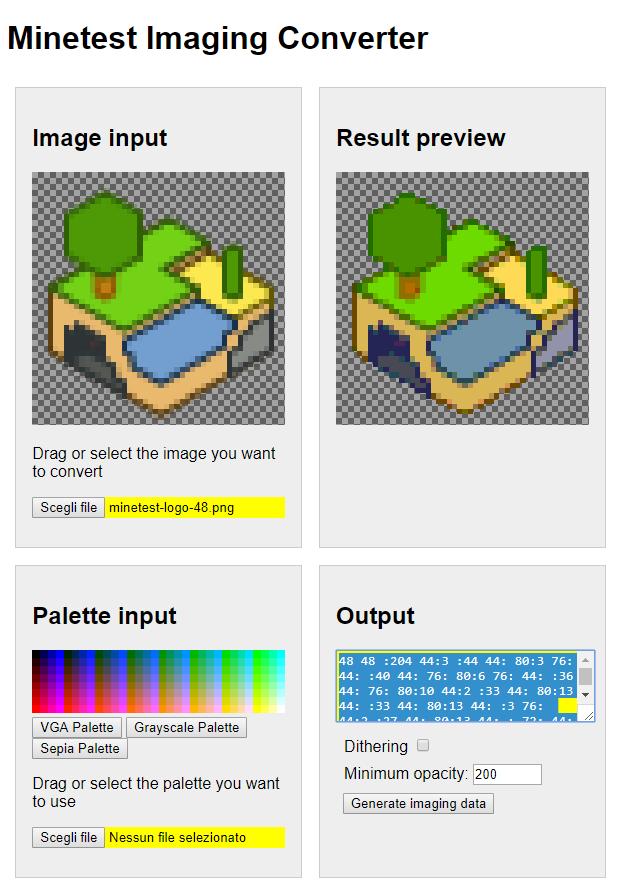
Clicking in the yellow Output textarea all the text will be selected: copy it into the clipboard and keep it handy to be imported in the game.
Converter options
- The three
Palettebuttons load one of the three default palettes; you can use any custom palette as long as it has exactly 256 pixels; in order to use such a palette you'll also need to add it to the mod/texturesfolder and restart the world - The
Ditheringcheckbox adds Floyd-Steinberg dithering to the resulting image. - The
Minimum opacitynumber determines what pixels will be considered and which ones will be ignored (the default255value will ignore any pixel that is not fully opaque, lower this value to use partially-transparent pixels)
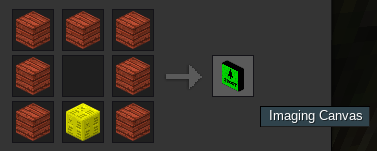
Importer
This is how the imaging:canvas importer looks like:
You can freely rotate it to decide in what direction the image will be imported.
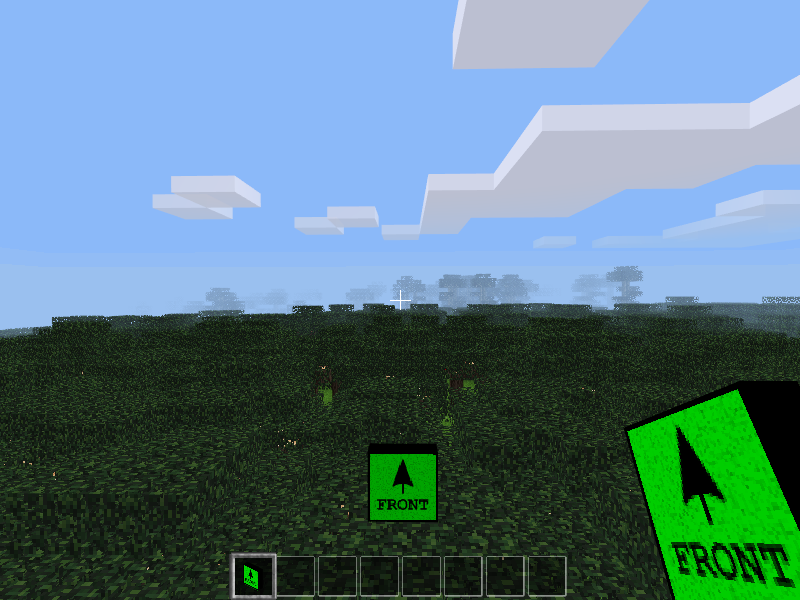
Once you right click it you'll see the default import interface:
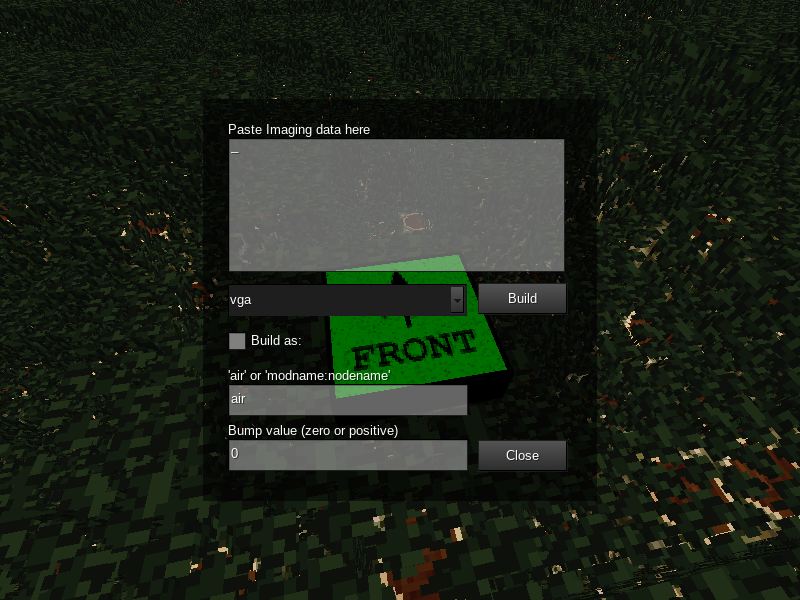
There you need to paste the imaging data you copied from the converter and click on Build, obtaining something like this:
![]()
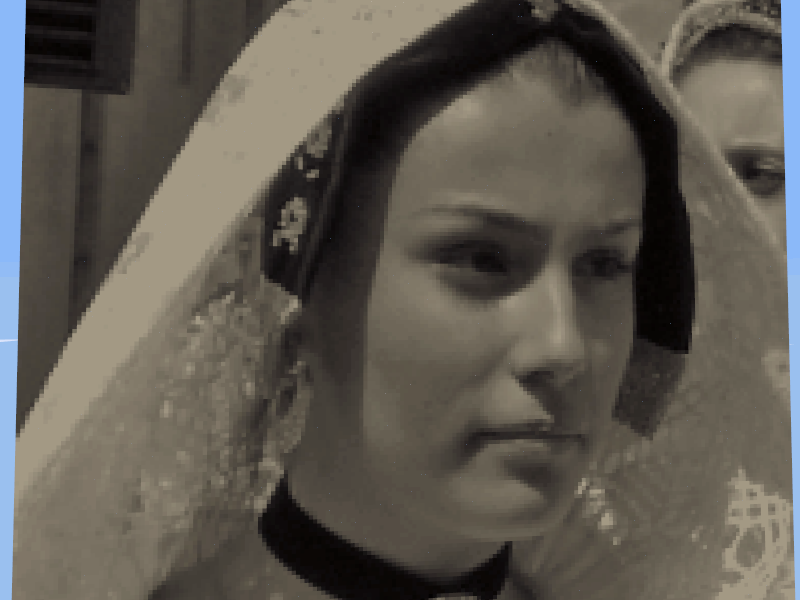
You can import pretty large images as well, this is the result of converting a portion of this image using the sepia palette:
https://www.flickr.com/photos/cristianocani/2457125478/
Importer options
- The
imaging dataonly contains the info about the palette index for each pixel, for that reason it is necessary to choose the appropriate palette in the dropdown of the importer as well (or not, you can also use a different palette which may result in some weird "fake colors" effect). Build as: if you select this option the image will be built using the chosen nodes - you can also build asairto get rid of an image you previously built.Bump value: if you set any positive value in this field, the palette index will be used to "bump" the nodes out of the image; for example, if you set the bump value to10then pixels with index255will be 10 nodes away from their original position in the plane of the image, indices around127will be about 5 nodes away and so forth.
(note: in a palette such as the grayscale one, black is at index 0 and white is at index 255, with gradients of gray getting brighter as the index increases)
Bump mapping
For example, you can draw an elevation map with an airbrush and convert it like this:

Then you can import it with these params:
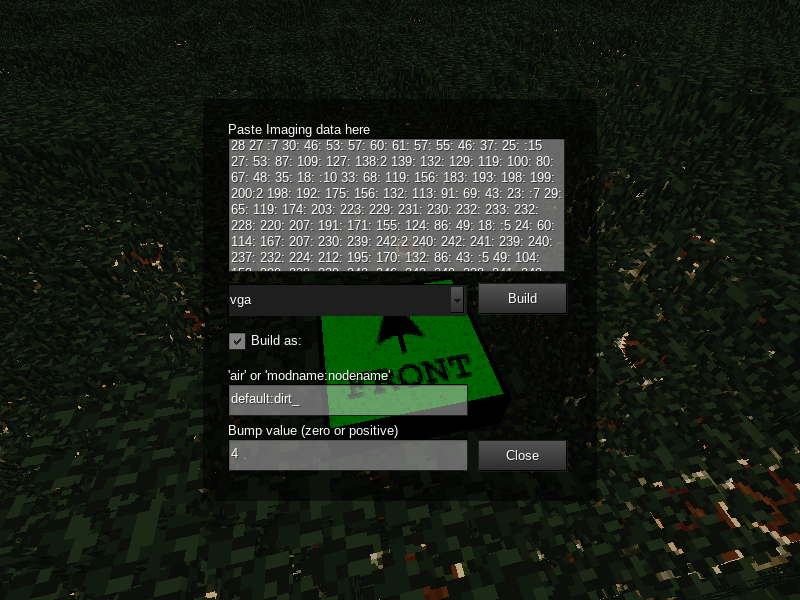
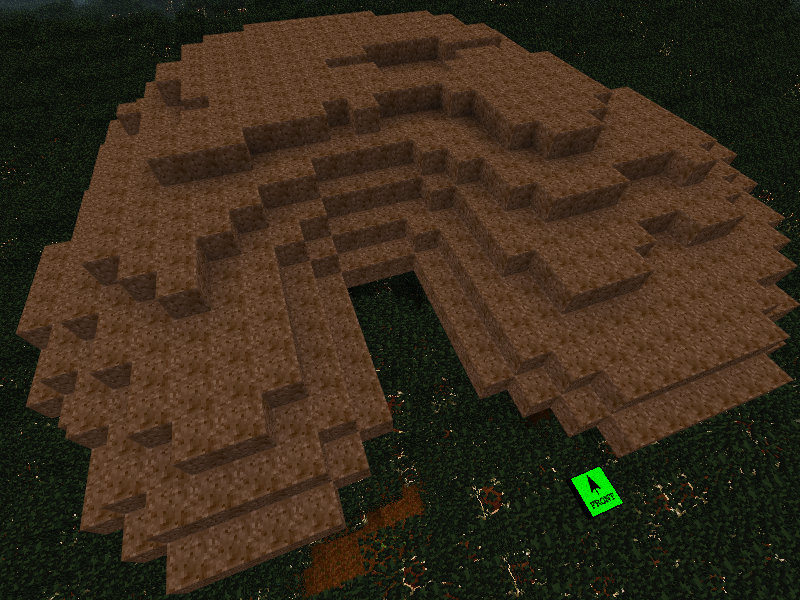
And finally obtain something like this:
Imaging Data Format
The imaging data is a run-length textual format defining the image in top-down, left-right order with these specifics:
- the data is a space separated series of
chunks - the first chunk is the width of the image
- the second chunk is the height of the image
- any subsequent chunk follows this format
index:countwhereindexcan be missing (those nodes will be completely ignored), for example:200means "skip 200 nodes"countcan be missing (meaning that the count will be1), for instance0:using the grayscale palette means "one black node" and255:3means "three white nodes"
All the above means that you can use the imaging:canvas to get rid of any image even without having the original code - it's enough that you guess the sizes and build them as air - for instance to remove a 32 x 48 image you would paste a code like this 32 48 0:1536 cause 32 * 48 == 1536; notice that you need to specify it as 0:1536, cause :1536 alone means "skip 1536 nodes" and those nodes will not be altered in the world regardless if you chose to build as air or default:dirt or anything else.
Custom palettes
Custom palettes are PNG images with exactly 256 pixels (say, 16x16 or 32x8) that must be placed into the /textures folder and named exactly as palette-customname.png (where "customname" can be anything you want).
Upon world restart the mod will find that custom palette and will add it to the palettes' dropdown in the imaging:canvas interface.
Those custom palettes will not be picked up automatically by the HTML converter, though: you'll need to drag/open such palettes manually in the browser's interface.